Burning smudge sticks or the burning of herbs and plants has been part of the spiritual practices of many cultures. Most notably, Native Americans used smudging as part of their ceremonies to cleanse the air and evoke blessings and purification.
You may have seen or purchased smudge sticks or sage bundles before. These have a wonderful scent, and many people enjoy incorporating them into their spiritual activities. But did you know you could also make homemade smudge sticks using herbs from your very own garden?
Here’s everything you need to know to learn how to make homemade smudge sticks from sage and other herbs.

The History of Scented Smudging & Incense
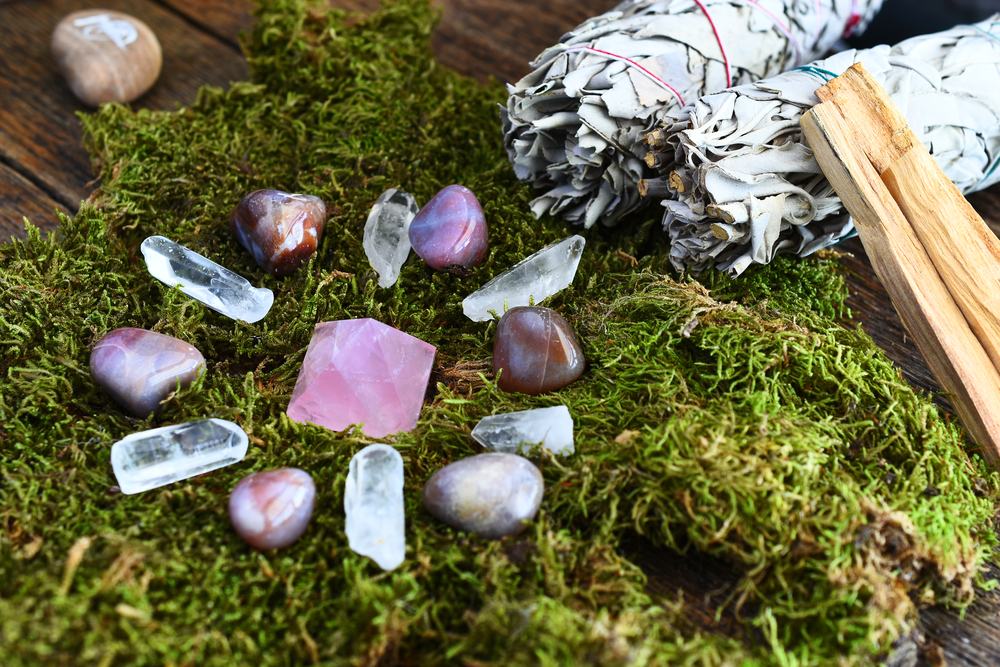
Scented smoke has been used throughout history in many different spiritual practices. South American shaman used wood from the Bursera graveolens tree known as Palo Santo to cleanse and reset energy. Many Eastern cultures used (and still use) incense, including Indian, Japanese, Chinese, and Egyptian. Some western cultures also have historically used smoke to cleanse, including the Celtic practice of saining.
Some cultures used incense and burning herbs to cover odors and repel insects, as well as cleanse. Other cultures, including the Babylonians, used incense in their prayer rituals. Today it’s still used in many different religions, including Catholic, Hinduism, Judaism, and Buddhism.
Incense is comprised of plant resins that contain essential oils to give off a scent. Varieties can either be combustible (direct burning) or non-combustible (burned over hot coals or embers). In addition to plant resins and dried herbs, bark, and spices are also used as incense, like sandalwood and cinnamon. Incense comes in the form of sticks, cones, powder, and even rope and paper. India is the top producer of incense in the world. Though incense is one of the most popular ways to create cleansing smoke, there are other options, including smudging.
The essential oils and plant resins contained within certain herbs like sage give off a pleasant, clean, white smoke. Some people find the woodsy scent calming, centering, and balancing. The belief behind smudging is that the smoke can cleanse and remove bad spirits and energy as it wafts away into the ether.
No matter your background or beliefs, learning how to make homemade smudge sticks can be a satisfying way to connect with nature. You’ll bring that outdoor energy inside, and there’s something very meditative about burning sage and other herbs. It can be a grounding experience that helps you connect to the earth. The ritualistic nature of lighting and burning sage, herbs, and incense can be a powerful part of any spiritual or meditative practice.
What Herbs Are Good for Homemade Smudge Sticks?
Sage is the traditional herb used in homemade smudge sticks. It’s clean-burning, and certain varieties are native to the Southwest of the United States. Other types are from the Mediterranean (most common kitchen varieties). The White Sage traditionally used in Native American smudging ceremonies is wild grown, and you should not harvest it from protected lands.
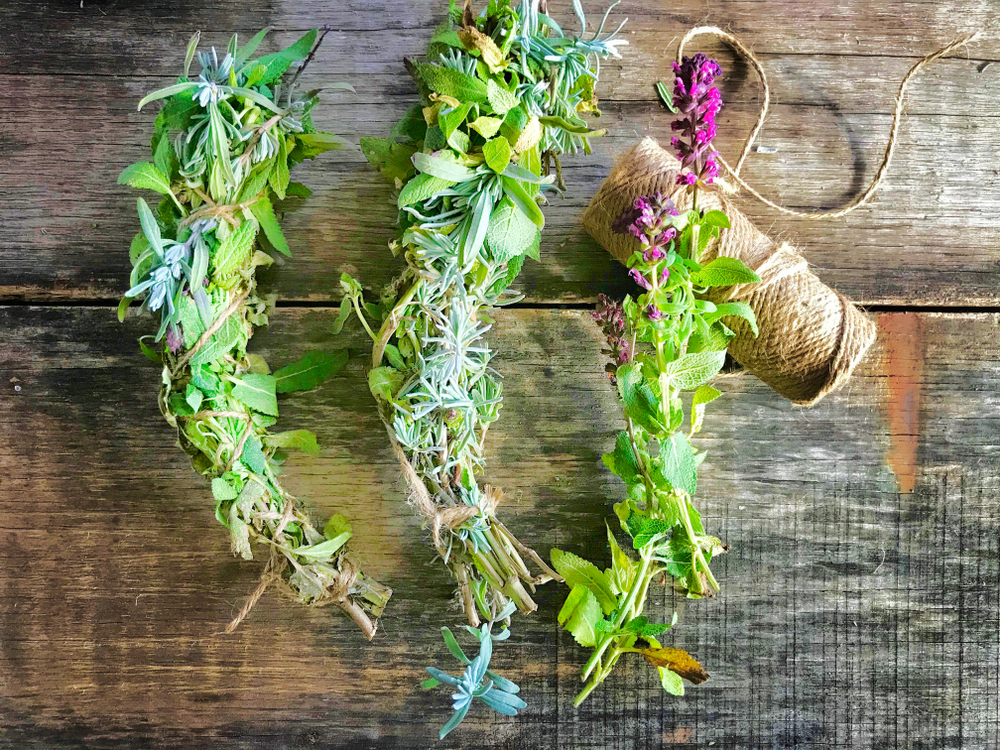
Garden variety sage or sagebrush can be sustainably used for homemade smudge sticks. Other garden-grown options include thyme, Russian sage, lavender, rosemary, lemon balm, juniper, pine, bee balm, catmint, mint, and catnip. There are many other options as well. It can be fun to experiment with different herbs and see what scents you prefer.
Keep in mind that some herbs won’t smell good when burned. They may just smell like burning leaves and create dark, thick smoke. It can be best to experiment outdoors before you bring that bundle of combustible material into your house and start burning. Most herbs that work well have woody stems and will feel resinous (almost a little sticky). The resin is a sign that the plant holds a lot of oils (which is where you get the scent).
It’s also important to note that you may want to be careful when you’re burning herbs. Some people can experience allergic reactions to certain herbs. Eucalyptus, thyme, sage, and yarrow are herbs that some people have reported struggling with. If something doesn’t smell right or doesn’t feel safe, don’t burn it.

Harvesting Herbs for Homemade Smudge Sticks
If you want to make homemade smudge sticks, you need to harvest and dry the herbs for your bundles. Depending on what herbs you have in your garden, you’ll want to harvest when the plant reaches full maturity, but don’t wait until it’s gone to seed or starts to die off or dry out for the winter. You’ll get more resinous herbs when they’re fresh and slightly younger. Often the best harvest time is in late spring or early summer, but some herbs don’t hit the ideal condition until a little later in the growing season.
If you’re growing herbs for tea, harvesting is a similar process for making homemade smudge sticks. You’ll want to choose a clear, dry, sunny day to harvest herbs. Try to harvest when it hasn’t rained for a while (and you haven’t watered for at least a day). Moisture can lead to mildew and mold, so you’ll want to make sure your plants are dry when you cut.
Cut the plants rather than pulling them up or breaking them off. Use sharp herb cutters to protect the remaining plant from disease. More jagged tears can sicken the plant and cause it to die off. If you’re harvesting perennial herbs, you’ll want to protect your plants, so they keep giving year after year.
If you choose to harvest plants in the wild, make sure you do your research. Harvest only sustainable plants in areas that are open to the public. In some states, it’s illegal to pick certain types of wildflowers and plants, and it’s essential to respect protections, especially if you plan to use these plants in spiritual practice. In other areas, you may need a harvesting permit if you plan to forest for wild plants. Generally, it’s best to grow your own whenever possible. If you harvest wild plants, be sure to leave plenty of root in place and only cut a small amount with a very sharp tool.
For making homemade smudge sticks, harvest a small handful of herbs—about what you would consider the size of a small bouquet. The herbs will shrink somewhat as they dry, but in general, you’ll want to pick about as much as you plan to bundle.
How to Make Homemade Smudge Sticks
When you dry herbs for culinary purposes, you usually hang them upside down and let them dry completely before doing anything else. With smudge sticks, though, it can be challenging to bind the herbs once they’ve dried out (you’ll end up with a crumbly mess).
Instead, you’ll bind the herbs while they’re still pliable and fresh. This will enable you to create a tight bundle that results in better burning.
Pick Burnable String
When you choose string for binding your homemade smudge sticks, you’ll want to choose natural cotton string or cotton twine. Yarn, embroidery floss, or other “craft string” can seem like a cute idea but be sure that it’s not synthetic. Many polyesters are highly flammable and can even give off toxic fumes as they burn down. If you want to color the string, consider using organic dye to get the color you want for your practice.
How to Bind Your Homemade Smudge Stick
When you’re making your homemade smudge sticks, you’re going to want to wrap them as tightly as possible. Leaves that are close together will burn slowly and stay together for longer, especially as the bundle dries out.
1. Bundle Herbs of Similar Length
Make sure that all the herbs in your bundle are about the same length—this will help the bundle stay uniform and look even. Most smudge sticks are about 6-8 inches in length. You can go longer or shorter, per your preference. Use a rubber band or a piece of twine to bind the herbs together at one end.
2. Wind String Around the Bundle
Wrap the cotton string around the bundle once, then tie it in a knot. Then, you’ll wrap up the length of the herbs, looping the string around the bundle every inch, depending on the size of the herb leaves you’re working with. When you get about a half-inch from the end, you’ll make the final loop and tie it off again.
3. Cross Back Down the Bundle
Next, you’ll go back the other way, working down the bundle one more time. Pull tightly as you go, making sure the herbs are staying together and feel secure. They will loosen as they start to dry out. When you get to the end, you can loop the string around several times as a handle. Finally, tie off the line and cut the ends. If you used a rubber band to hold the bundle together, remove it now that you’re finished.
4. Hang the Bundles to Dry
Now you’ll need to hang your smudge bundles somewhere to dry. Hanging works best, so the bundles get plenty of airflow and don’t mildew. For that reason, it’s best not to hang the bundles in a kitchen or bathroom, where humidity is higher. Instead, find a dry spot in your house—such as an attic or closet. You can either tie the bundles with string or use a bit of wire to form hooks. A coat hanger can create a great hanging option.
Check your bundles every few days to see how they’re drying. After a few weeks, they will feel dry to the touch—this means your smudge sticks are ready to burn.

Using Your Homemade Smudge Sticks
When your bundles are fully dry, it’s time to use them however you see fit. Keep in mind that smudge sticks don’t burn like incense—you will need to keep a very close eye on the bundles when lit. For safety reasons, you may want to burn them outside at first to make sure that they don’t burn too quickly.
When burning smudge sticks in the house, keep a container handy. A bowl made of shell, bone, clay, or ceramic (like an ashtray) can help you contain any falling embers. Use a candle to light the bundle and let it burn for a moment to get an even flame. Once it’s lit, blow it out to extinguish the fire and let the remaining embers smolder and smoke.
Use the smudge sticks in whatever way you feel aligns with your practice.
When you’ve finished using your homemade smudge sticks, you can put out the embers by gently smothering them into the ashtray or bowl. Most herbs will go out on their own after a few minutes, too (but it’s always best to make sure you’ve completely extinguished the fire). Store smudge sticks in a safe, dry place for future use. To preserve the scent, you may want to store them in a jar or another airtight container.
Keep in mind that like incense and even candles, smoke does give off some toxicity (even when it’s from a clean source). It can trigger allergies as well, so use it in moderation until you’ve worked with smudge sticks for a while.
Smudge sticks are an interesting way to ground your spiritual practice. They can help create a sense of ritual and be a lovely way to deepen your connection to the earth, cleanse your space, and connect during meditation and prayer. Enjoy using your homemade smudge sticks.
To learn more about gardening and herbs, don’t miss our Earth-Friendly Garden guide.


Comments & Reviews
What keeps the smudge stick string from burning & making the stick fall apart?
Hey Jeanette,
Thanks for your question! Many people have brought this up, so I am glad you asked. The best ways to prevent your smudge stick string from burning and then causing the smudge bundle to fall apart is to make sure that you are bundling your smudge stick with many close wraps of string that are pulled relatively tightly so that as the bundle burns down (including the string) it is still held by other chords, using hemp or cotton string is common – however, you can try using wool as this burns less easily, and also using a flame proof dish such as an Abalone shell to hold and carry your smudge stick around while smudging is a good way of catching any loose herb leaves that might have fallen off while the bundle smokes. Smudge sticks are a bundle of herbs in the end, so it is inevitable that bits of ash will fall off. Also, if the bundle does come unwrapped from string loosening or burning, you can always re-wrap it.
Hope this helps!
~Charlene
Thank you. Always wanted to learn this☺️🙏🏽
You are most welcome Rosalyn,
Glad my article can help!
~Charlene